Installing the 3D Manual Clutch
The following step-by-step video and written instructions explain how to install the 3D Manual Clutch. If you have any questions, give us all call or send us an email and we will help you as quickly as possible.
Email: info@3dmotorsport.net
*** For clutches purchased with larger sprockets, use the different spacer arrangement noted on the sheet provided with your clutch. ***
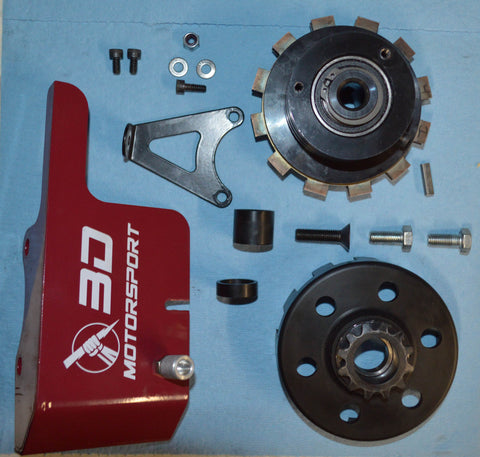
1. After unboxing the 3D Manual Clutch, make sure you have received all of the following items:
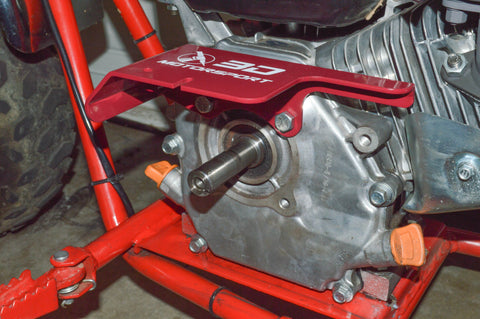
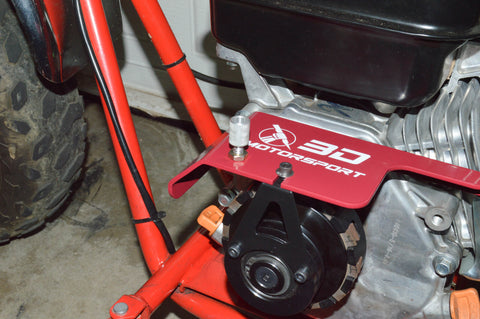
2. Install the clutch guard onto the engine, securing it with the clutch guard mounting fasteners. The mounting fasteners are 5/16-24 hex head cap screws. You may use flat washers under the head of the screws if preserving the powder coat finish is desired. Do not tighten the fasteners beyond hand snug at this time. These fasteners will be tightened later on.
3. The ends of the inner shaft spacer are not identical. One side does not have a radius while the other side does. Slide the inner shaft spacer over the PTO shaft such that the radius'ed end of the spacer is facing the engine. That is, the radius in the spacer should be in contact with the step in the PTO shaft.

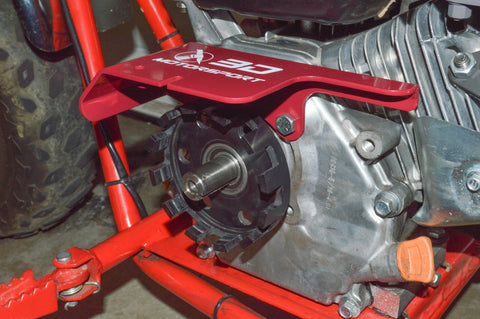
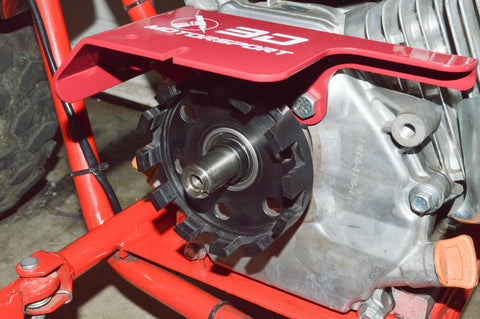
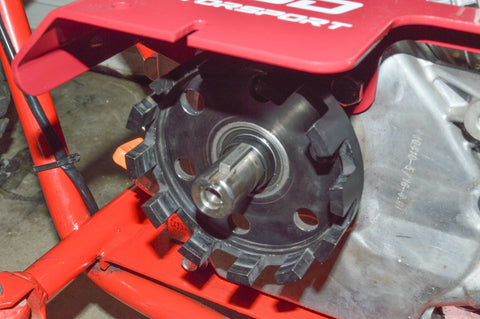
4. Slide the clutch basket and sprocket assembly over the PTO shaft with the sprocket facing inward. Note: the clutch basket in the photo below has been used which explains the visible wear marks. New clutch baskets do not have any discoloration.
5. Slide the outer shaft spacer over the PTO shaft of the engine until contact is made with the inner race of the sprocket bearing.
6. Install the 3/16" key in the keyway of the PTO shaft until it contacts the outer shaft spacer.
7. Slide the clutch assembly over the PTO shaft, making sure that the tangs in the friction disc line up to the slots in the clutch basket and also that the keyway in the driver lines up with the key previously installed in step 6.
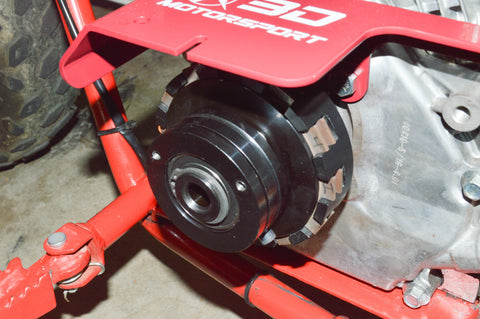
8. Install the 5/16-24 flathead cap screw into the PTO shaft. Tighten the screw.

9. Install the anti-rotation bracket using the two 10-24 x 3/8" socket head cap screws. Tighten the screws.
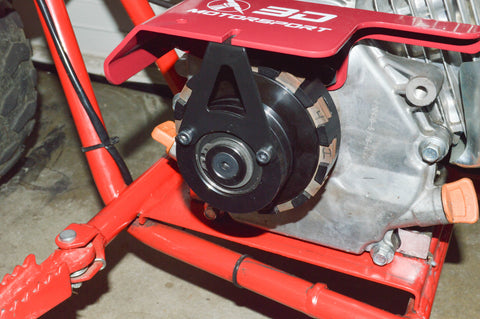
10. Install the 10-32 x 1/2" cap screw as well as the accompanying flat washers and locknut. The screw should extend through the slot in the clutch guard into the tab on the anti-rotation bracket. Hand snug the screw, but do not tighten it.
11. Pull the fixed actuator toward you so that any gap that exists between the shaft snap ring in the actuator ball bearing is eliminated. Tighten the 10-32 x 1/2" cap screw and locknut.
12. Tighten the hex head cap screws securing the clutch guard to the engine.
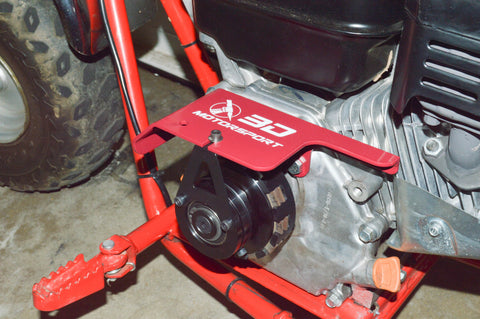
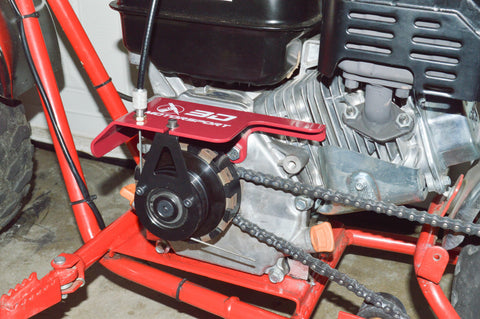
13. Install the cable adjuster using the 1/4-20 hex nuts provided. The hex nuts should thread onto the post of the cable adjuster and sandwich the top flange of the clutch cover.
14. Pass the cable from your clutch lever through the cable adjuster. The cable housing should rest inside of the cable adjuster while the wire should pass through it. Wrap the cable around the rotating actuator so that it sits in the circumferential cable groove and passes underneath the head of the cable securing screw protruding radially out of the rotating actuator. Snug the cable securing screw just enough so that the cable cannot fall out of the slot but can still be moved back and forth.
15. ***The following step is critical and must be completed exactly how it is described in this step*** Using one hand, pull the rotating actuator outward with slight pressure while also rotating it counterclockwise until it cannot turn counterclockwise any further. Using your other hand, Pull the end of the wire cable toward the right, taking all of the slack out of it and the clutch lever it is connected to. With the first hand continuing to pull back on the rotating actuator, rotate it clockwise until slight resistance is met. With the second hand, wrap the cable around the rotating actuator and hold it in place against the outer surface of the rotating actuator with your left thumb on your first hand. While holding the cable down with your thumb, tighten the cable securing screw with the appropriate Allen wrench. If this step is done successfully, there should neither be excessive slack nor excessive play in the clutch cable and lever. Additionally, the rotating actuator should not exhibit any axial play.
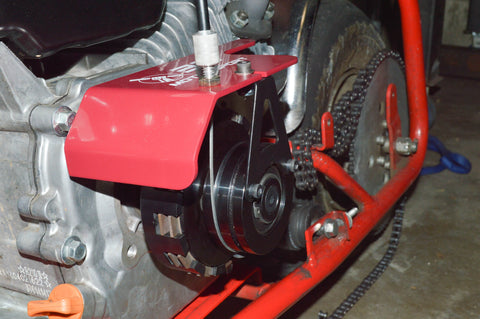

16. Install the chain. Depending on the sprocket size, the chain angle, and the angle of the engine, you might find that the chain interferes with the clutch guard fasteners. To fix this issue, either replace the hex head cap screws with button head screws, or install a standard 3/4" flat washer between the inboard shaft spacer and the crank shoulder. Doing the latter will space the chain farther from the engine so you'll need to check your chain alignment after doing so.
17. Verify that the clutch engages and disengages and that all the nuts and bolts are tight. Be safe out there- Happy Riding!!